Voltage OS Flashing Guide for veux/peux
Your complete guide to installing Voltage OS on your Xiaomi Redmi Note 11 Pro 5G / 11 Pro+ 5G / 11E Pro / POCO X4 Pro 5G (veux/peux).
Warning!
Flashing Recovery (Initial Install ZIP)
Download:
Steps:
1. Reboot to fastboot mode by holding Volume Down + Power until the fastboot logo appears.
2. Connect your phone to your PC and run the following commands:
fastboot reboot fastbootfastboot --skip-reboot update voltage-5.3-veux-20251117-0331-OFFICIAL-initial-install.zip3. Reboot to recovery mode by holding Volume Up + Power until the recovery screen appears.
Flashing Firmware
Download the latest regional firmware from here. You can flash the firmware using two different methods. Pick the one that’s relevant for you.
Method 1: ADB Sideload
- In recovery, select Apply Update.
- Select Apply Update from ADB.
- Connect phone to PC and run this command:
adb sideload firmware.zipMethod 2: SD Card / OTG
- In recovery, select Apply Update.
- Select Choose from sdcard.
- Navigate to and select your firmware.zip file.
Flashing ROM
Customize your experience by choosing one of the three options below.
Option 1: Clean Flash - Vanilla
- Select Apply Update → Apply Update from ADB.
- On your PC, run:
- Confirm 'Yes' on the prompt that tells you to reboot to recovery after sideloading.
- Select Factory Reset.
- Select Format Data/Factory Reset.
- Select Reboot System Now.
adb sideload rom.zipOption 2: Clean Flash - Sandbox GApps
Follow steps 1-6 from the Clean Flash (Vanilla) method above.
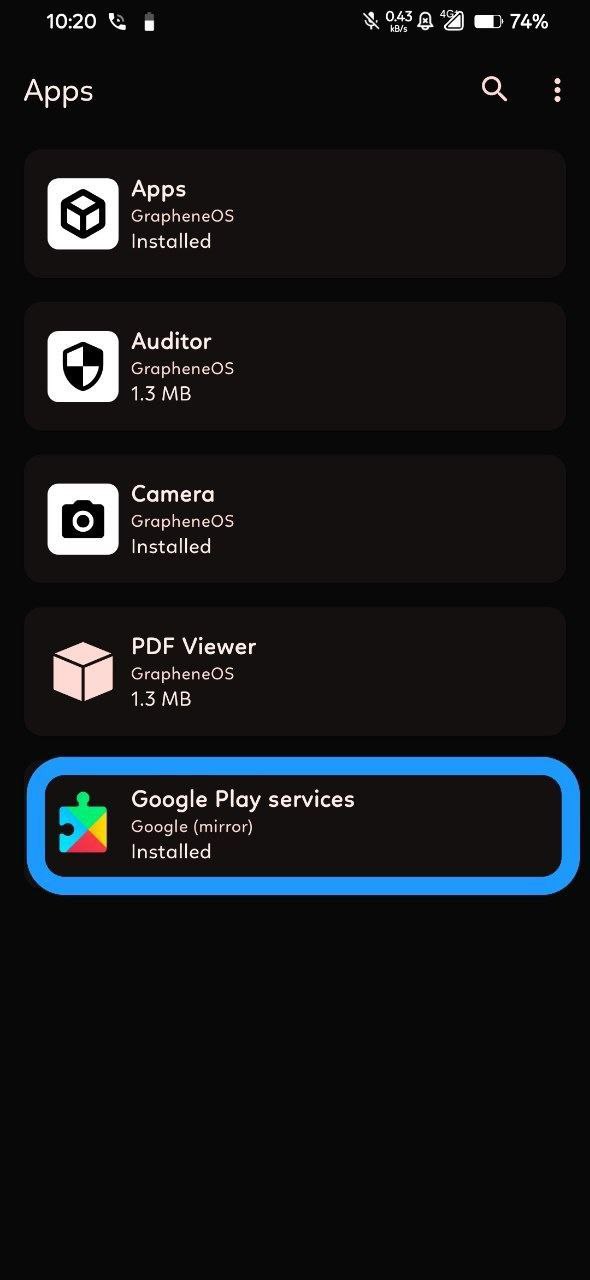
- After rebooting to system, download and install the GrapheneOS App Store.
- Open the app and install Google Play services, Google Services Framework and Google Play Store.
For more information on Sandboxed Google Play, read the official documentation.
For potential fixes and workarounds, check this post.
Option 3: Clean Flash - Normal GApps
- Select Apply Update → Apply Update from ADB.
- Sideload the ROM zip:
- Confirm 'Yes' on the prompt that tells you to reboot to recovery after sideloading.
- DO NOT REBOOT to System. Go back and select Apply Update → Apply Update from ADB again.
- Sideload your GApps package:
- Select Advanced → Reboot to Recovery.
- Once back in recovery, select Factory Reset.
- Select Format Data/Factory Reset.
- Select Reboot System Now.
adb sideload rom.zipadb sideload gapps.zipUpdating ROM
You can update the ROM using two different methods. Pick the one that’s relevant for you.
Method 1: Dirty Flash
- Select Apply Update → Apply Update from ADB.
- Sideload the new ROM zip:
- Confirm 'Yes' on the prompt that tells you to reboot to recovery after sideloading.
- If you did not flash GApps previously, select Reboot System Now.
adb sideload rom.zipIf you flashed GApps previously:
- DO NOT REBOOT to System. Select Apply Update → Apply Update from ADB again.
- Sideload the GApps zip:
- Select Reboot System Now.
adb sideload gapps.zipMethod 2: Updating Through OTA
Note: This method does not work for major version upgrades (for example, 4.x to 5.x).
- Navigate to Settings → About phone → Check for updates (the big banner at the top).
- Download the latest available build.
- Tap Reboot in the updater once the download is complete.
- The device will automatically update and reboot.
You do not need to flash GApps if you use this method to update the ROM.
Flashing a Different Kernel
Note: These instructions are for Android 16 builds.
- Download the required vendor_boot.img from here.
- Reboot to fastboot mode (Vol Down + Power).
- Flash the downloaded vendor_boot:
- Reboot to recovery (Vol Up + Power).
- Flash your desired kernel zip file via recovery (e.g., ADB Sideload or SD Card).
- Select Reboot System Now.
fastboot flash vendor_boot voltage-5.3-kernel-flash-vendor_boot.img